
A sandwich maker is a quick and easy way to make delicious sandwiches, but it can be a hassle to clean. This guide will show you step-by-step how to properly clean and maintain your sandwich maker to ensure it stays in top working condition.
From removing crumbs to sanitizing the plates, we’ll cover everything you need to know to keep your sandwich maker clean and ready for your next sandwich-making adventure.
What is a Sandwich Maker?
A sandwich maker is a kitchen appliance used to make grilled sandwiches or ‘toasties’. It utilizes two shallow, heated disks that are put together to form one piece with flat upper and lower surfaces. Food is placed in between the two plates and then held closed when being cooked.
The sandwich maker can be used for two pieces of bread filled with cheese, ham, chicken, tuna, eggs and other various combinations. It’s also a great tool for making stuffed toasties with mono-portioned fillings like curries or stews without having to spread it all over a piece of bread.
Plus, the sandwich maker produces evenly cooked food quickly due to its electric heating element which makes for delicious hot snacks in minutes!
How to Clean a Sandwich Maker? 6 Simple Steps
Keeping your sandwich maker clean will help it last longer and ensure you have delicious sandwiches every time. Here are the easy steps on how to get the job done correctly.
Step 1: Turn It Off and Unplug It

Yes, it is important to turn off and unplug your sandwich maker before cleaning it. This will prevent accidental injury and damage to the appliance. Make sure that the sandwich maker has cooled down completely before attempting to clean it.
Step 2: Take Out the Removable Plates

Remove any crumbs or debris from the sandwich maker by gently brushing it with a clean, dry cloth or a soft-bristled brush.
Before cleaning the sandwich maker, it is important to remove any crumbs or debris that may have accumulated on the appliance.
This can be done by gently brushing the surface with a clean, dry cloth or a soft-bristled brush. This will help to remove any loose debris and make it easier to clean the sandwich maker.
Step 3: Clean the Plates With a Spoon or Cloth
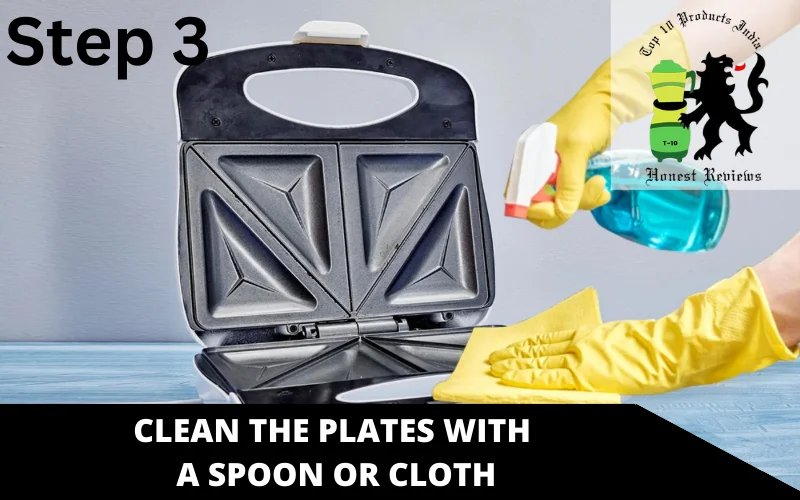
Credit for the image: WikiHow
If there are any tough or stuck-on stains, use a damp cloth or sponge to gently wipe them away. Avoid using abrasive cleaning materials or steel wool as they may scratch the surface.
If there are any tough or stuck-on stains on the sandwich maker, it’s best to use a damp cloth or sponge to gently wipe them away.
Avoid using abrasive cleaning materials or steel wool as they may scratch the surface of the sandwich maker. Instead, use a mild detergent or a solution of warm water and baking soda to clean the surface.
Step 4: Deeply Clean
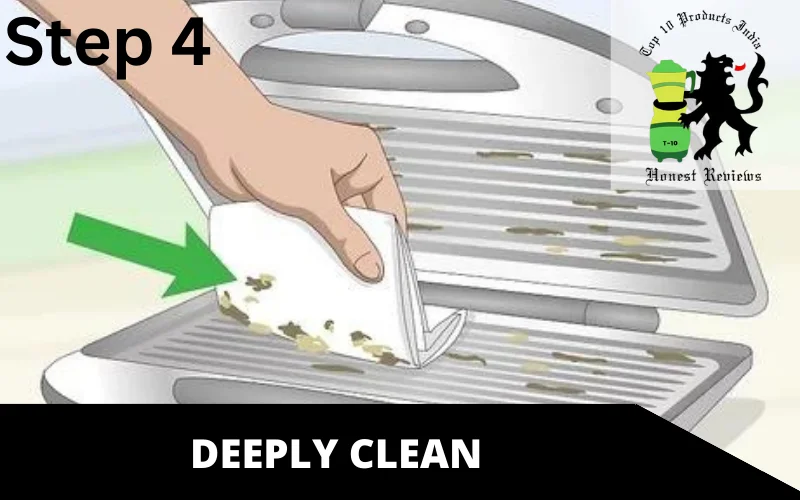
Credit for the image: WikiHow
For a deeper cleaning, you can remove the plates of the sandwich maker and wash them in warm, soapy water. Rinse them thoroughly and dry them before reassembling the sandwich maker.
For a deeper cleaning, you can remove the plates of the sandwich maker and wash them in warm, soapy water. Rinse them thoroughly and dry them before reassembling the sandwich maker.
Make sure that the plates are completely dry before you put them back into the sandwich maker. This will prevent rusting or any other damage that can be caused by moisture.
Step 5: Have You Trouble With the Leftover Residue in the Grooves? Try Chopsticks!
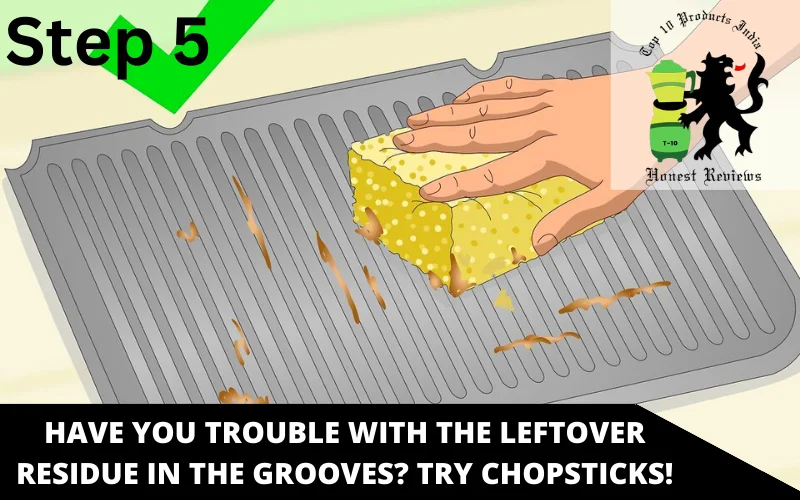
Credit for the image: WikiHow
If you’re unable to clean the debris between the grooves, you can try this useful suggestion: take chopsticks (or the round tip of the butter knife) and wrap them in a damp dishcloth. Then take a look at cleaning the grooves once more to loosen the remaining dirt.
Step 6: Wipe down the exterior of the sandwich maker with a damp cloth and dry it with a clean towel.
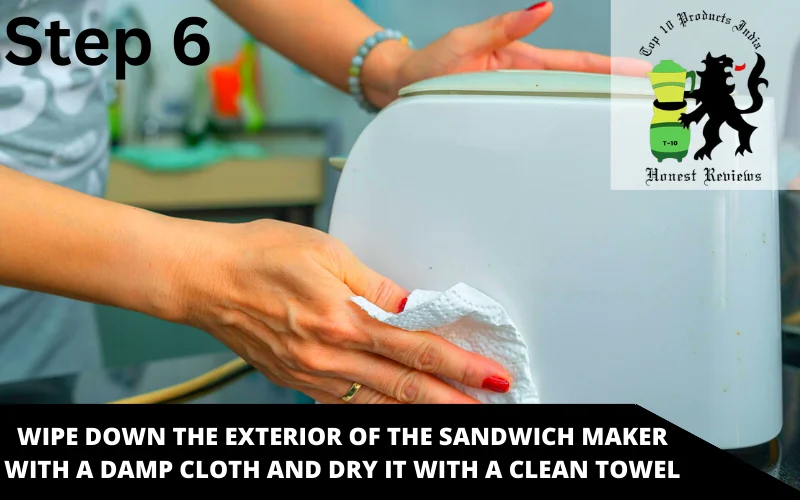
After cleaning the interior and the plates of the sandwich maker, it is important to wipe down the exterior of the appliance with a damp cloth. This will remove any dirt or stains that may have accumulated on the exterior. Dry the exterior with a clean towel to prevent any water damage.
Step 7: Once the sandwich maker is completely dry, plug it back in and test it before using it again.
Once the sandwich maker is completely dry, plug it back in and test it before using it again. This will ensure that the appliance is in good working condition and that it is safe to use. If you notice any issues, it’s best to contact the manufacturer for assistance.
How to Clean the Non-Removable Plates of a Sandwich Maker?
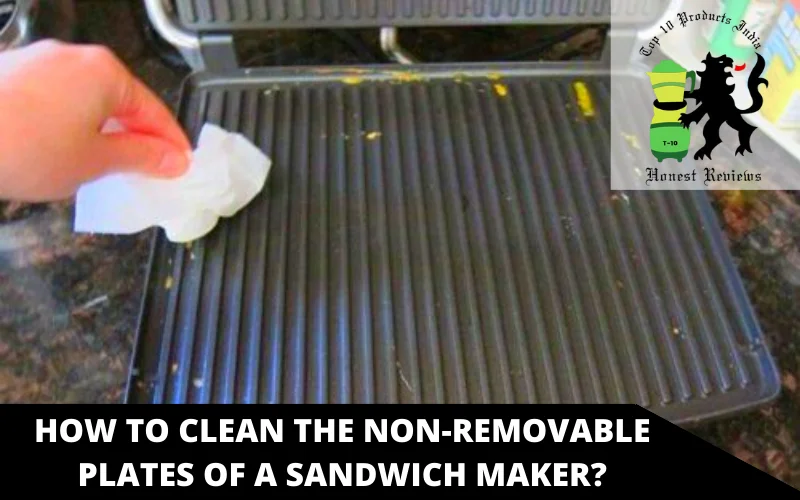
Here are some steps to clean the non-removable plates of a sandwich maker:
- Allow the sandwich maker to cool down completely before cleaning.
- Use a soft-bristled brush or a clean, dry cloth to remove any crumbs or debris from the plates.
- If there are any tough or stuck-on stains, use a damp cloth or sponge to gently wipe them away. Avoid using abrasive cleaning materials or steel wool as they may scratch the surface.
- Make a solution of warm water and a mild detergent or a solution of warm water and baking soda. Dip a cloth or sponge in the solution and gently scrub the plates.
- Wipe the plates with a clean, damp cloth to remove any soap residue.
- Dry the plates with a clean towel or cloth.
- Once the plates are completely dry, plug the sandwich maker back in and test it before using it again.
Note – It’s also important to check the user manual of your sandwich maker for any specific cleaning instructions or recommendations from the manufacturer. Some sandwich makers may have additional cleaning requirements.
Also, if you notice that the plates of your sandwich maker are getting discoloured, it may be a sign that you need to replace them with new ones.
Warnings When Cleaning a Panini Press or Sandwich Maker
Here are the most important safety measures before you clean a sandwich maker:
- Always unplug the appliance before cleaning: Unplug the panini press or sandwich maker before cleaning it to prevent any accidental injury or damage to the appliance.
- Be Careful of Hot Surfaces: Allow the panini press or sandwich maker to cool down completely before cleaning to prevent burns or injuries.
- Avoid using abrasive cleaning materials or steel wool: These materials can scratch the surface of the appliance, causing damage. Instead, use a mild detergent or a solution of warm water and baking soda to clean the surface.
- Don’t immerse the appliance in water: Never immerse the panini press or sandwich maker in water or any other liquid as it can cause damage to the electrical components.
- Always dry the appliance thoroughly: After cleaning, dry the appliance thoroughly before plugging it back in to prevent any damage from moisture.
- Check the user manual: Before cleaning, always check the user manual of your panini press or sandwich maker for any specific cleaning instructions or recommendations from the manufacturer.
- Be aware of the materials: If your panini press or sandwich maker have non-stick coating, avoid using steel wool or abrasive cleaning materials as they can damage the non-stick coating, also avoid using harsh chemical as they can also damage the coating.
- Heat settings: Be aware of the heat settings of the panini press or sandwich maker, if it has a thermostat, as you may want to adjust the temperature before you clean it.
Conclusion
In conclusion, cleaning a sandwich maker is an important task to ensure the longevity and safe use of the appliance. If we do a quick recap, it is essential to turn off and unplug the sandwich maker before cleaning and wait for it to cool down completely. Gently remove any crumbs or debris with a clean, dry cloth or a soft-bristled brush.
For tough or stuck-on stains, use a damp cloth or sponge. For a deeper cleaning, you can remove the plates of the sandwich maker and wash them in warm, soapy water. Rinse them thoroughly and dry them before reassembling the sandwich maker. Wipe down the exterior of the sandwich maker with a damp cloth and dry it with a clean towel.
Once the sandwich maker is completely dry, plug it back in and test it before using it again. Always refer to the user manual for specific cleaning instructions or recommendations from the manufacturer. And be aware of the warnings when cleaning a sandwich maker to prevent any damages or injuries.